

Most beginner drift cars spin for the same reason: the suspension is working against the driver. The rear grip arrives in one lump, the front washes out, and the car either snaps round or refuses to rotate at all. More power rarely fixes that. Geometry and damping do. Get the basics right and the same car becomes predictable enough to learn in, which is the whole point of a beginner setup.
Start With The Worn Parts
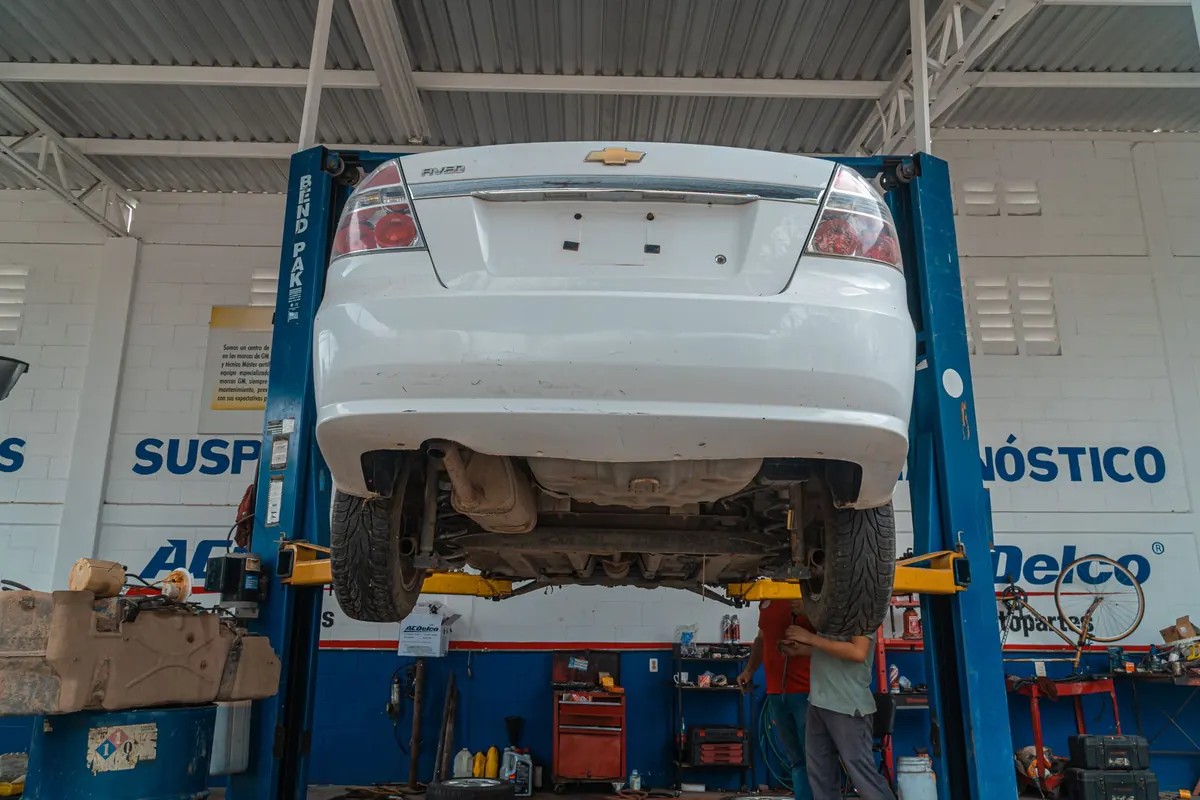
Before you spend anything on shiny components, get the car on a ramp and check for play. Ball joints, track rod ends, top mounts, and every rear subframe and trailing arm bush. A tired rear bush lets your toe change under load, so the alignment you paid for on Tuesday is meaningless by Saturday. Sorting the wear first also means that when you do adjust something, you can feel the result rather than guessing at it.
Coilovers: What Actually Matters
You do not need a competition kit to learn to drift. You do need dampers that let you change something. Height adjustment is the minimum; damping adjustment is the one you will actually use. Look for a set with decent top mounts — ideally with camber plates at the front — and springs that suit the weight of your car rather than the cheapest listing that fits.
Two things are worth knowing before you buy. First, the damping has to be valved to match the spring rate; a bargain kit with stiff springs and soft valving will feel harsh over bumps and vague everywhere else. Second, buying from a supplier who actually supports drifters means you can ask what rate they have proven on your model and get springs swapped later if you want to change the balance. A set that cannot be rebuilt or re-sprung is a false economy.
Alignment: The Best Money You Will Spend
Alignment is the cheapest handling upgrade there is, and the one most beginners skip. Find a workshop with a proper rig, put ballast in the driver's seat to mimic your weight, and ask for a printout before and after. A full tank or half tank of fuel is fine, as long as you are consistent. Below are sensible starting points rather than laws — every car and tyre combination differs.
Camber
At the front, you want a decent amount of negative camber so the tyre stays flat on the road as you wind on steering lock. Something in the region of three to three and a half degrees negative is a common drift baseline. At the rear, run much less — around half a degree to one degree negative. Too much rear camber shrinks the contact patch, which means less grip exactly when you want the car to hook up and drive out of the corner.
Caster
Positive caster is what makes the steering self-centre and gives you dynamic camber as you turn. Somewhere around six to eight degrees positive suits most drift cars: the car feels more stable at big angles and the wheel returns to you more helpfully on a transition. Caster can be awkward to change on some models, but adjustable top mounts or tension rods usually sort it. Expect heavier steering effort as you add it; that is normal.
Toe
Front toe slightly out — a small amount either side — sharpens turn-in and helps the car keep angle without you fighting it. Rear toe slightly in gives stability on transitions and stops the back end wandering under power. Too much rear toe-in scrubs speed and makes the car push; rear toe-out feels nervous and will bite you on a damp track.
Ride Height, Roll Centre And Clearance
Lower is not automatically better. Drop the car too far and the suspension arms end up pointing the wrong way, the roll centre moves somewhere unhelpful, and the car rolls more than the spring rates suggest while feeling strangely disconnected. Aim for a slight nose-down rake, keep the arms close to horizontal, and leave yourself real suspension travel.
Bump stops are the enemy here. If you are riding them mid-corner, the car will suddenly gain grip at one end and rotate without warning — a classic beginner spin. Check clearance at full lock and full compression, both directions, before you leave the unit.
Damping: Tune By Feel
Adjuster clicks only mean something relative to the valving, so start in the middle and move two clicks at a time on one end of the car only. Broadly speaking, stiffening one end reduces grip at that end. So if the car is loose and snapping on power, soften the rear a touch or stiffen the front, then drive it again.
Remember you are not chasing maximum grip. You are chasing balance: a rear that lets go progressively when you ask and grips again when you lift, and a front that tells you what it is doing through the wheel.
A Sensible Order Of Work
- Replace worn bushes, joints and mounts.
- Set consistent tyre pressures and matching tyres across each axle.
- Set ride height and corner weights with you in the driver's seat.
- Get the alignment done: camber, then caster, then toe.
- Set damping to the middle of the range.
- Test at a track day, change one thing, and write down what you changed.
Where To Spend First
If money is tight, alignment and fresh tyres come before anything else. A standard car with good geometry, a welded or locked diff and a set of decent dampers will teach you more in a season than a half-finished build with expensive parts bolted to worn bushes. Keep a notebook of settings and the conditions you drove in — a setup that works on a tight, abrasive circuit in July may feel wrong on a cold, damp day elsewhere.
Talk to people in the paddock. Most drifters will happily tell you their settings, and you will learn faster from one honest conversation than from a week of internet arguments. If the car is still road legal, declare the suspension changes to your insurer, and check that whatever you fit is acceptable for road use before an MOT comes around.